
Cozy page ideas
How to color cute animals without ruining the fur
Cute animals are everywhere in cozy coloring. What really changes the result is not the subject: it is how you lay down the fur, keep the muzzle readable and avoid blackening the eyes.
Quick answer
For a cute animal to work, use two fur tones only: a light base and a slightly darker tone placed where the shadow falls. Soften the join with a blender while the ink is still fresh, keep the muzzle and the area around the eyes lighter than the rest, and save black for the pupil alone.
Keep the fur simple. One base color plus a slightly darker shadow is enough; the scene and expression will carry most of the charm.
On this page
Easy animal scenes to look for
- A cat in a bubble bath, with very pale blue bubbles.
- A dog on an autumn bench with muted orange leaves.
- A bear with a warm cup, a blanket and socks.
- A rabbit in the rain, with a pastel umbrella.
- A duck in a garden with simple flowers.
Cats, rabbits, bears, dogs and ducks work especially well because their silhouettes remain readable even in busy rooms. Look for familiar actions: reading, baking, bathing, gardening, having tea or walking in the rain.
If you are a beginner, choose an illustration with large faces, simple clothes and a few medium-sized props. Tiny fur textures and crowded foliage create more decisions than a cozy scene needs.
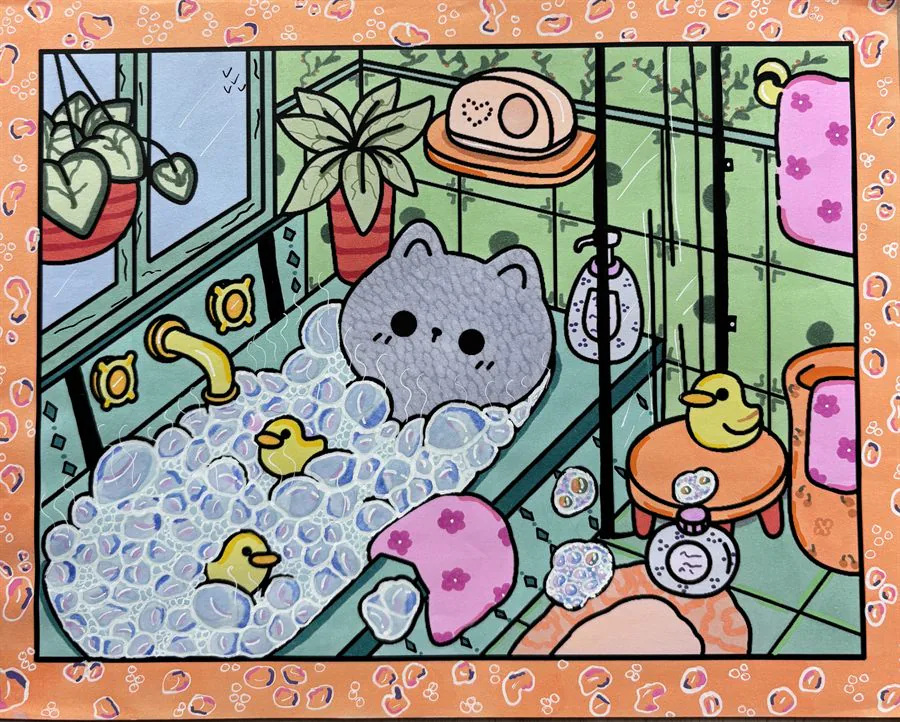
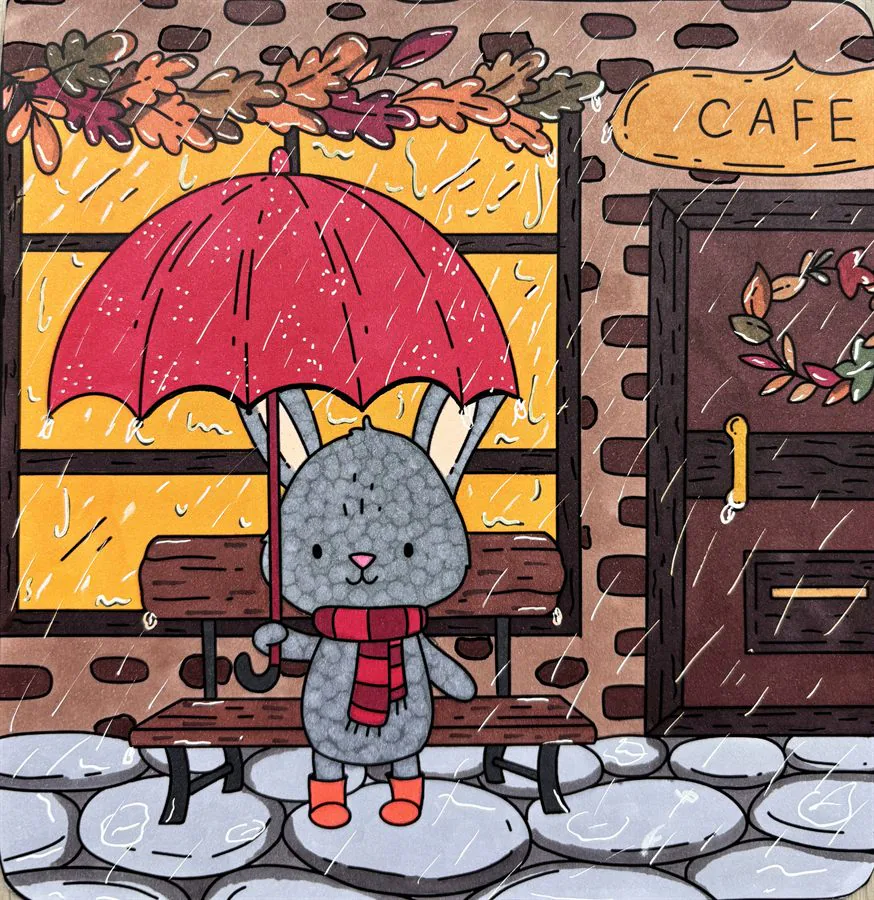
Fur: two tones, never more
For fur, avoid going dark too fast. Beige, light brown, warm gray, dusty pink and cream give a softer result. Lay the light base over the whole area first, then add the second tone only under the chin, behind the paws and along the back, where the shadow would naturally fall.
Repeat the animal's color in one background object, or repeat an accessory color near the opposite edge. That small echo helps the whole page feel connected.
Softening fur with a colorless blender
A colorless blender is a marker with no pigment, included in most alcohol marker sets. It does not erase: it re-dilutes ink that is already down so two tones meet without a visible step. It is the tool that makes the biggest difference on fur.
The motion: lay your light base, add the darker tone on the shadow area, then run the blender from light towards dark, in small back-and-forth strokes, while the ink is still wet. Once dry, the effect is much weaker.
Two common mistakes: pressing hard (the ink pushes out to the edges and bleeds), and staying too long in one spot (the paper pills and soaks). Two or three light passes are enough. Clean the tip on scrap paper between colors, otherwise it carries the previous pigment.
Muzzle, cheeks and eyes
Keep the muzzle and the area around the eyes lighter than the rest of the face: that contrast is what makes the expression readable. If you color the whole head in one flat tone, the animal looks flat even when the fur is well done.
For cheeks, a dusty pink dot softened with the blender is enough. For the eyes, leave a small white dot uncolored at the top of the pupil: it is the only highlight you need, and it instantly brings the look alive. Black stays on the pupil only; the muzzle outline stays brown.
Choose the right book style
Coco Wyo-style pages often combine cute characters with simple interiors and bold outlines, which suits markers and short palettes. Other books may use more delicate details or open backgrounds.
Before buying, preview several inside pages. Make sure the level of detail—not only the cover—matches the kind of session you want.
Key takeaways
- Choose one clear character doing an everyday activity.
- Use one base fur color and one simple shadow.
- Repeat a short palette across the character and room.
- Preview inside pages before choosing a book.
FAQ
Which cute animals are easiest to color?
Animals with large simple shapes, such as bears, cats and rabbits, are usually easiest for beginners.
How many fur colors do I need?
One base and one slightly darker tone are enough for a clear, soft result.
Do I need realistic animal colors?
No. Pastel or imaginative colors work well when you repeat them elsewhere in the scene.
What is a colorless blender and what is it for?
It is a marker with no pigment, included in most alcohol marker sets. It re-dilutes ink that is already down so two tones melt into each other. It is not there to erase a color.
Does the blender work with water-based markers?
Much less well. The blender is made for alcohol ink. With water-based markers, a slightly damp brush gets closer, but the paper warps quickly.